Mobile Money
Collect mobile money payments from your customers.
Mobile money lets you accept payments from customers using their mobile wallets. It is a fast, secure, and convenient payment method that does not require a bank account.
Supported networks and regions
Flutterwave currently supports mobile money payments in several countries. Here is a comprehensive list of supported networks in each region.
Requirements
Before integrating mobile money payments, complete the following steps:
- Review the introduction section before you continue with this guide.
- Retrieve your API keys from the Flutterwave Dashboard to authorize requests.
How Mobile Money Payments Work
When a customer selects Mobile Money as their payment method, a push notification is sent to their registered mobile device. To complete the transaction, the customer must:
- Open the notification on their mobile device.
- Authorize the payment by inputting their PIN or following the provider's authentication process.
- Once authorized, the payment is processed, and both the customer and the merchant receive a confirmation.
After authorization:
- The customer’s mobile money wallet is debited.
- Flutterwave sends a successful webhook notification to your server.
Payment Flow
To accept Mobile Money payments, follow these steps:
- Collect customer information: Capture the customer’s
email,name, andphoneto initialize the transaction. - Create a
mobile_moneypayment method object: Includecountry_code,network, andphone_number. - Initiate a charge: Pass in the
customer_id,payment_method_id, and transaction details (amount,currency, and a uniquereference). - Prompt payment: Ask the customer to complete the transaction on their mobile device.
- Verify the transaction: Check the
status,amount,customer_id, andidbefore delivering value or services.
Steps to Collect Mobile Money Payments with Flutterwave
Integration Method
This guide uses the general integration flow. Please refer to the orchestrator flow for the alternative integration method.
Step 1: Create a Customer
To create a customer, send a request to the create customer endpoint. The only required field is the email, but we recommend collecting additional data like name, phone, and address for better customer profiling.
You can also retrieve customer details using the customer id. This is useful for charging existing customers without collecting their information again.
curl --request POST \
--url 'https://developersandbox-api.flutterwave.com/customers' \
--header 'Authorization: Bearer {{YOUR_ACCESS_TOKEN}}' \
--header 'Content-Type: application/json' \
--header 'X-Trace-Id: {{YOUR_UNIQUE_TRACE_ID}}' \
--header 'X-Idempotency-Key: {{YOUR_UNIQUE_INDEMPOTENCY_KEY}}' \
--data '{
   "address":{
      "city":"Gotham",
      "country":"US",
      "line1":"221B Baker Street",
      "line2":"",
      "postal_code":"94105",
      "state":"Colorado"
   },
   "name":{
      "first":"King",
      "middle":"Leo",
      "last":"James"
   },
   "phone":{
      "country_code":"233",
      "number":"9012345678"
   },
   "email":"[email protected]"
}'
You'll get a response similar to this:
{
   "status":"success",
   "message":"Customer created",
   "data":{
      "id":"cus_X0yJv3ZMpL",
      "address":{
         "city":"Gotham",
         "country":"US",
         "line1":"221B Baker Street",
         "line2":"",
         "postal_code":"94105",
         "state":"Colorado"
      },
      "email":"[email protected]",
      "name":{
         "first":"King",
         "middle":"Leo",
         "last":"James"
      },
      "phone":{
         "country_code":"233",
         "number":"9012345678"
      },
      "meta":{},
      "created_datetime":"2025-01-29T12:44:53.049Z"
   }
}
Step 2: Create a Mobile Money Payment Method Object
Next, create a payment method by sending a request to the create payment method endpoint. Set the type field to mobile_money and include the required mobile_money object:
country_code: Country code of the phone number (e.g., "233" for Ghana).network: The telecom provider (e.g., "mtn", "airtel").phone_number: The mobile wallet number.
curl --request POST \
--url 'https://developersandbox-api.flutterwave.com/payment-methods' \
--header 'Authorization: Bearer {{YOUR_ACCESS_TOKEN}}' \
--header 'Content-Type: application/json' \
--header 'X-Trace-Id: {{YOUR_UNIQUE_TRACE_ID}}' \
--header 'X-Idempotency-Key: {{YOUR_UNIQUE_INDEMPOTENCY_KEY}}' \
--data '{
   "type": "mobile_money",
   "mobile_money": {
       "country_code": "233",
       "network": "MTN",
       "phone_number": "9012345678"
   }
}'
You'll get a response similar to this:
{
    "status": "success",
    "message": "Payment method created",
    "data": {
        "type": "mobile_money",
        "mobile_money": {
            "network": "MTN",
            "country_code": "233",
            "phone_number": "9012345678"
        },
        "id": "pmd_kwU1jeHpBC",
        "meta": {},
        "created_datetime": "2025-01-30T12:25:52.596970660Z"
    }
}
Step 3: Create the Charge
To initiate the charge, send a request to the create charge endpoint with the following:
customer_id: Returned after creating the customer.payment_method_id: Returned after creating the payment method.- Transaction details: Include the
amount,currency, and a uniquereference.
Note on Currency and Country Code
The charge
currencymust match thecurrency_codeused when creating the payment method.
curl --request POST \
--url 'https://developersandbox-api.flutterwave.com/charges' \
--header 'Authorization: Bearer {{YOUR_ACCESS_TOKEN}}' \
--header 'Content-Type: application/json' \
--header 'X-Trace-Id: {{YOUR_UNIQUE_TRACE_ID}}' \
--header 'X-Idempotency-Key: {{YOUR_UNIQUE_INDEMPOTENCY_KEY}}' \
--data '{
   "currency": "GHS",
   "customer_id": "cus_X0yJv3ZMpL",
   "payment_method_id": "pmd_kwU1jeHpBC",
   "amount": 200,
   "reference": "{{UNIQUE_CHARGE_REFERENCE}}"
}'
On a successful request, you'll get a response similar to this:
{
    "status": "success",
    "message": "Charge created",
    "data": {
        "id": "chg_xdSlPfGXSp",
        "amount": 200,
        "fees": [
            {
                "type": "vat",
                "amount": 0
            },
            {
                "type": "app",
                "amount": 0
            },
            {
                "type": "merchant",
                "amount": 0
            },
            {
                "type": "stamp_duty",
                "amount": 0
            }
        ],
        "currency": "GHS",
        "customer_id": "cus_X0yJv3ZMpL",
        "settled": false,
        "settlement_id": [],
        "meta": {},
        "next_action": {
            "type": "payment_instruction",
            "payment_instruction": {
                "note": "Please authorise this payment on your mobile number: 2339012345678. It may take a few minutes to confirm this payment."
            }
        },
        "payment_method_details": {
            "type": "mobile_money",
            "mobile_money": {
                "network": "MTN",
                "country_code": "233",
                "phone_number": "9012345678"
            },
            "id": "pmd_kwU1jeHpBC",
            "meta": {},
            "created_datetime": "2025-01-30T12:25:52.596Z"
        },
        "reference": "69a26371-53d1-4b34-8dfa-ae7a33092b9b",
        "status": "pending",
        "processor_response": {
            "type": "pending",
            "code": "02"
        },
        "created_datetime": "2025-01-30T12:32:40.207870937Z"
    }
}
A failed request will return this error:
{
   "status": "failed",
   "error": {
       "type": "REQUEST_NOT_VALID",
       "code": "10400",
       "message": "Currency not supported for GH Mobile Money.",
       "validation_errors": []
   }
}
Step 4: Authorizing the Payment
After initiating a charge, the response includes a next_action object with a type of payment_instruction. This guides how the customer should complete the payment. There are two possible flows:
- Push Notification Flow: The customer receives a push notification on their mobile money-registered phone. They authorize the payment by entering their PIN or following their provider’s authentication process.
- Redirect Flow: The customer is redirected to a Flutterwave-hosted page where they can complete the payment authorization.
Once the payment is completed and funds are received, Flutterwave sends you a webhook with the final transaction status. The next section explains how to verify a transaction.
Step 5: Verify the Payment
Before you provide value to the customer, confirm the transaction's final status and amount. You can verify the transaction information either using webhooks or by retrieving the charge details:
- Webhooks: It is important to have webhooks enabled on your Flutterwave dashboard. If you have webhooks enabled, we'll call your webhook URL with the payment details when the transaction is completed or fails. Below is a sample webhook payload:
{
   "webhook_id":"wbk_ZlH8y4R45J6IeqHmmIbD",
   "timestamp":1738250214856,
   "type":"charge.completed",
   "data":{
      "id":"chg_xdSlPfGXSp",
      "amount":200,
      "currency":"GHS",
      "customer":{
         "id":"cus_X0yJv3ZMpL",
         "address":{
            "city":"Gotham",
            "country":"US",
            "line1":"221B Baker Street",
            "line2":"",
            "postal_code":"94105",
            "state":"Colorado"
         },
         "email":"[email protected]",
         "name":{
            "first":"King",
            "middle":"Leo",
            "last":"James"
         },
         "phone":{
            "country_code":"233",
            "number":"9012345678"
         },
         "meta":{},
         "created_datetime":"2025-01-29T12:44:53.049Z"
      },
      "description":null,
      "meta":{},
      "payment_method":{
         "type":"mobile_money",
         "mobile_money":{
            "network":"MTN",
            "country_code":"233",
            "phone_number":"9012345678"
         },
         "id":"pmd_kwU1jeHpBC",
         "customer_id":null,
         "meta":{},
         "device_fingerprint":null,
         "client_ip":null,
         "created_datetime":"2025-01-30T12:25:52.596Z"
      },
      "redirect_url":null,
      "reference":"69a26371-53d1-4b34-8dfa-ae7a33092b9b",
      "status":"succeeded",
      "processor_response":{
         "type":"approved",
         "code":"00"
      },
      "created_datetime":"2025-01-30T12:32:40.207Z"
   }
}
- Retrieve the Charge: You can manually check the status of a charge by calling the retrieve a charge endpoint using the charge ID, which is returned in the
data.idfield of the response after successfully initiating a charge.
curl --request GET \
--url 'https://developersandbox-api.flutterwave.com/charges/{{ID}}' \
--header 'Authorization: Bearer {{YOUR_ACCESS_TOKEN}}' \
--header 'Content-Type: application/json' \
--header 'X-Trace-Id: {{YOUR_UNIQUE_TRACE_ID}}' \
You'll get a response similar to this:
{
    "status": "success",
    "message": "Charge fetched",
    "data": {
        "id": "chg_xdSlPfGXSp",
        "amount": 200,
        "fees": [
            {
                "type": "vat",
                "amount": 0
            },
            {
                "type": "app",
                "amount": 0
            },
            {
                "type": "merchant",
                "amount": 0
            },
            {
                "type": "stamp_duty",
                "amount": 0
            }
        ],
        "currency": "GHS",
        "customer_id": "cus_X0yJv3ZMpL",
        "settled": false,
        "settlement_id": [],
        "meta": {},
        "payment_method_details": {
            "type": "mobile_money",
            "mobile_money": {
                "network": "MTN",
                "country_code": "233",
                "phone_number": "9012345678"
            },
            "id": "pmd_kwU1jeHpBC",
            "meta": {},
            "created_datetime": "2025-01-30T12:25:52.596Z"
        },
        "reference": "69a26371-53d1-4b34-8dfa-ae7a33092b9b",
        "status": "succeeded",
        "processor_response": {
            "type": "approved",
            "code": "00"
        },
        "created_datetime": "2025-01-30T12:32:40.207870937Z"
    }
}
Testing your Integration
Depending on whether you want to test the redirect or push notification next_action in your integration, follow these steps to simulate the payment experience in test mode:
To test the redirect-based next_action, add the X-Scenario-Key header to your charge request with the value:
curl --request POST \
--url 'https://developersandbox-api.flutterwave.com/charges' \
--header 'Content-Type: application/json' \
--header 'Accept: application/json' \
--header 'Authorization: Bearer{{YOUR_ACCESS_TOKEN}}' \
--header 'X-Trace-Id: {{YOUR_UNIQUE_TRACE_ID}}' \
--header 'X-Idempotency-Key: {{YOUR_UNIQUE_INDEMPOTENCY_KEY}}' \
--header 'X-Scenario-Key: scenario:auth_redirect' \
--data '{
  "reference": "13c7cffa-0ec0-4da2-a224-e166a71d7a61",
  "currency": "GHS",
  "customer_id": "cus_FLCIsFZR3C",
  "payment_method_id": "pmd_2B0BYBxn1G",
  "amount": 100
}'
You'll get a response similar to this:
{
    "status": "success",
    "message": "Charge created",
    "data": {
        "id": "chg_UlED8fc18O",
        "amount": 100,
        "fees": [
            {
                "type": "vat",
                "amount": 0
            },
            {
                "type": "app",
                "amount": 0
            },
            {
                "type": "merchant",
                "amount": 0
            },
            {
                "type": "stamp_duty",
                "amount": 0
            }
        ],
        "currency": "GHS",
        "customer_id": "cus_FLCIsFZR3C",
        "settled": false,
        "settlement_id": [],
        "meta": {},
        "next_action": {
            "type": "redirect_url",
            "redirect_url": {
                "url": "https://developer-sandbox-ui-sit.flutterwave.cloud/redirects?mobile_money&token=eyJhbGciOiJIUzI1NiJ9.eyJjbGllbnRJZCI6Ijc3YTZkOWViLTA2ODItNGZlZS05ODlmLWYxZTk1YzcwNGNhMiIsImNoYXJnZUlkIjoiY2hnX1VsRUQ4ZmMxOE8iLCJzdWIiOiI3N2E2ZDllYi0wNjgyLTRmZWUtOTg5Zi1mMWU5NWM3MDRjYTIiLCJpYXQiOjE3NDA0ODkwNjUsImV4cCI6MTc0MDQ4OTM2NX0.rMALQTjyAKQpIPsdqlldy3sCDsVLssymFssrtIBBjZI"
            }
        },
        "payment_method_details": {
            "type": "mobile_money",
            "mobile_money": {
                "network": "MTN",
                "country_code": "233",
                "phone_number": "9012345678"
            },
            "id": "pmd_2B0BYBxn1G",
            "meta": {},
            "created_datetime": "2025-02-25T12:45:44.718Z"
        },
        "reference": "6ca03b4e-9f34-4529-a741-a25352370a42",
        "status": "pending",
        "processor_response": {
            "type": "pending",
            "code": "02"
        },
        "created_datetime": "2025-02-25T13:11:05.095614706Z"
    }
}
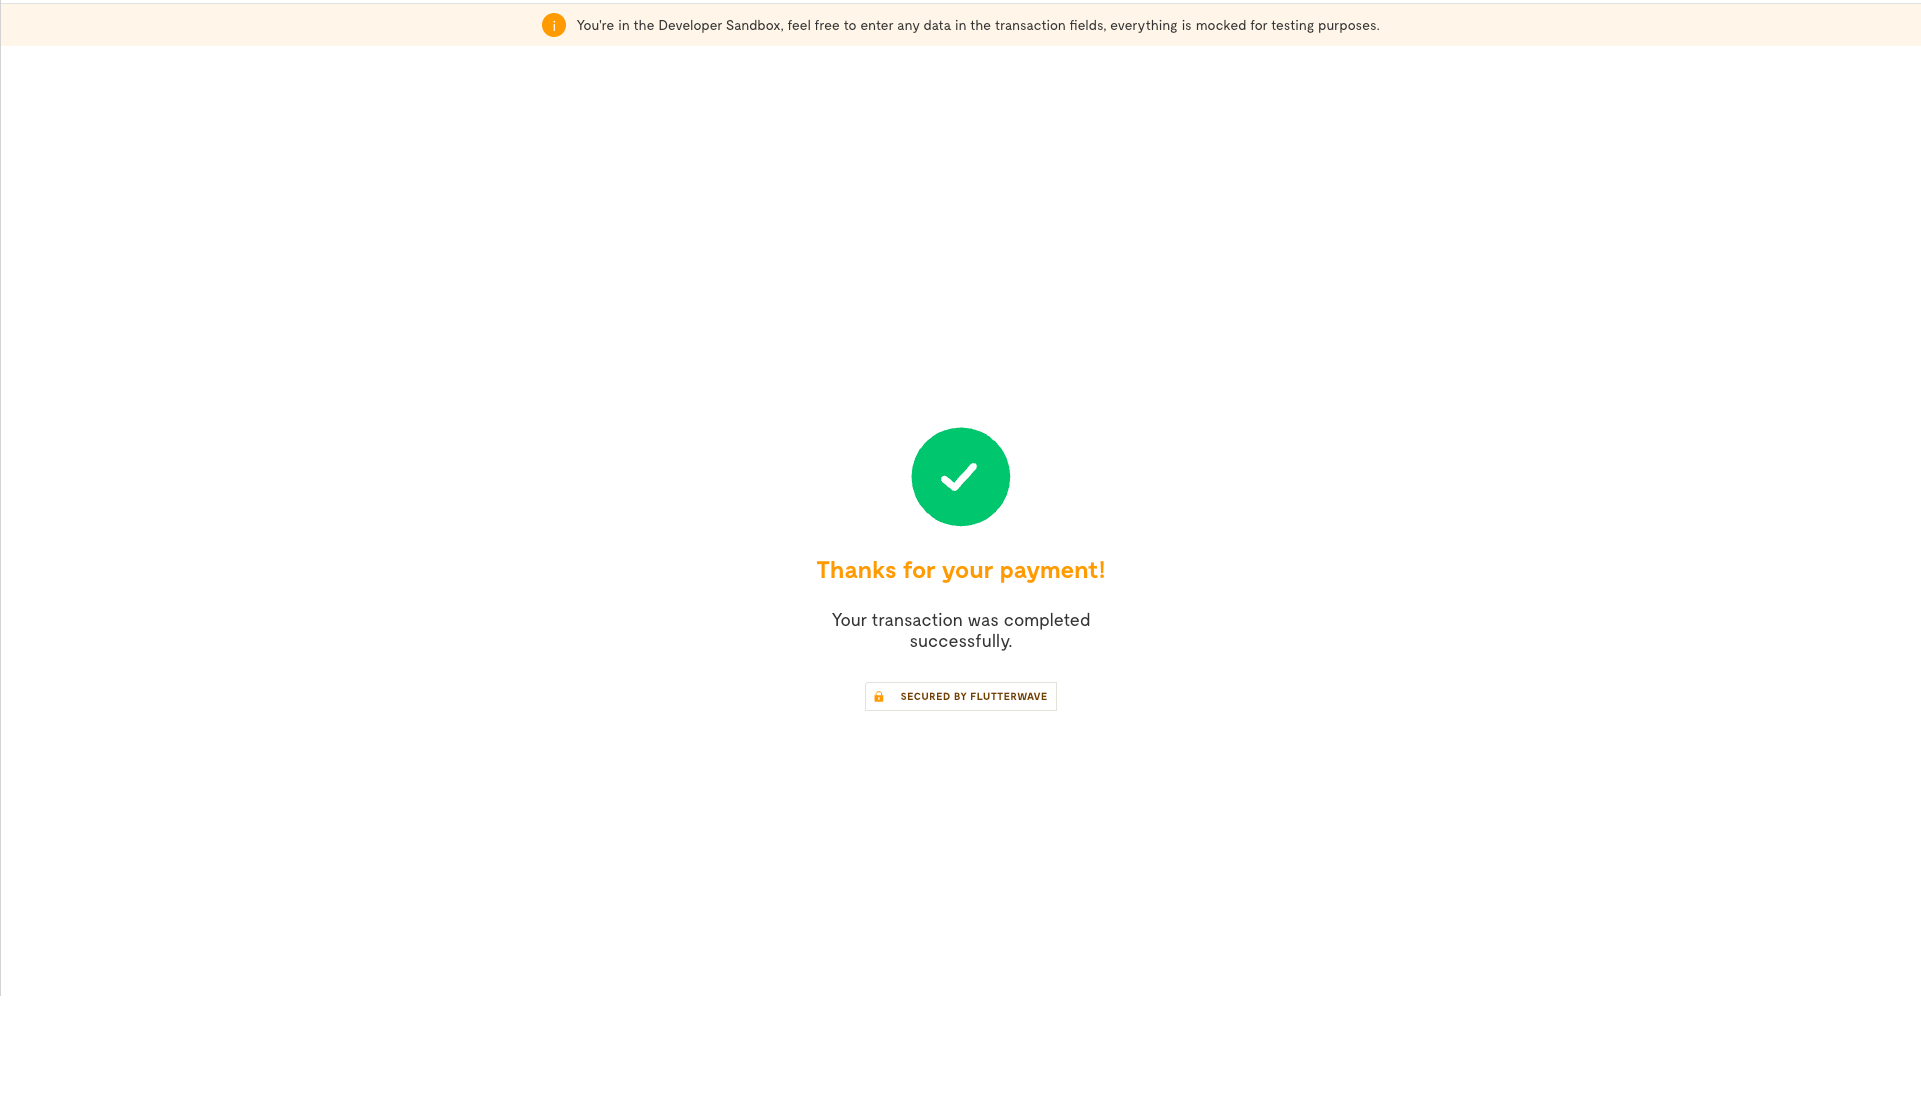
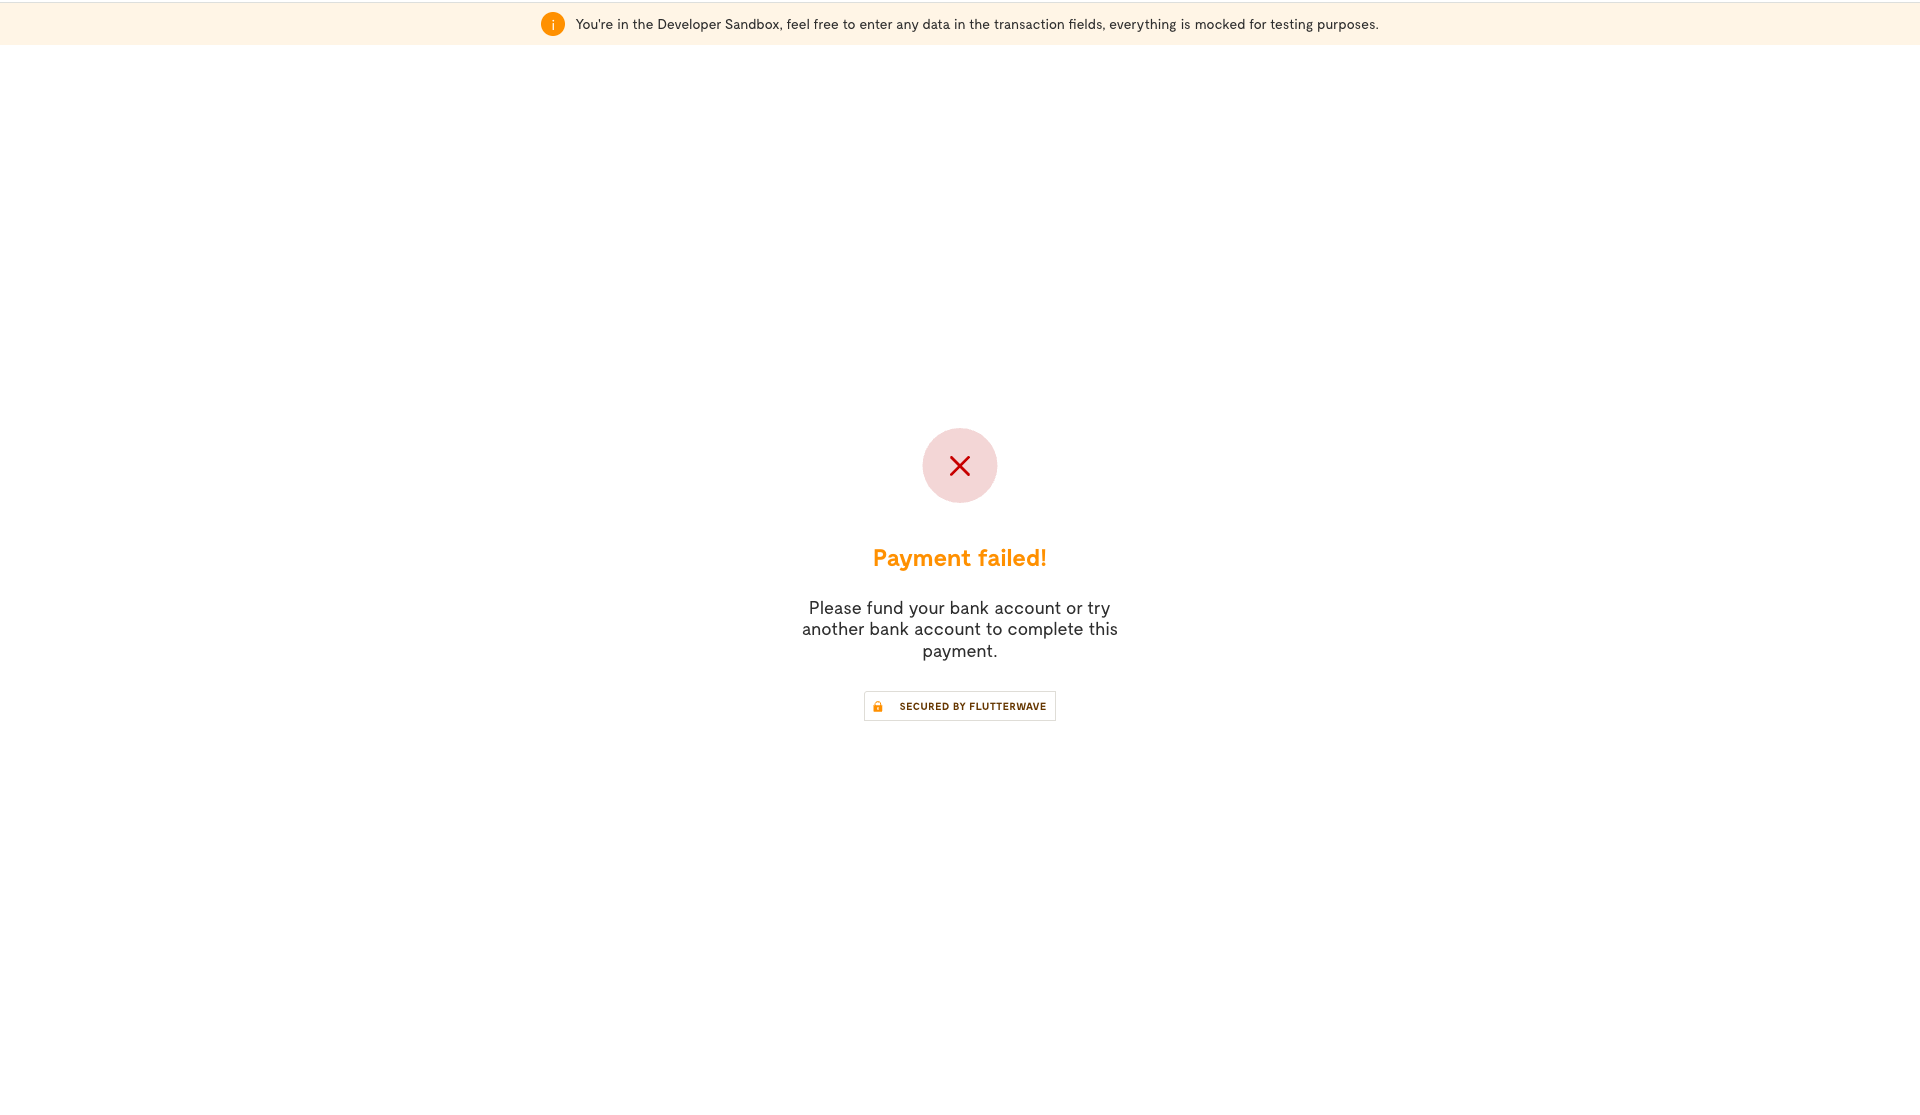
The response contains a redirect link to our mock page, where you can simulate successful and failed customer attempts.
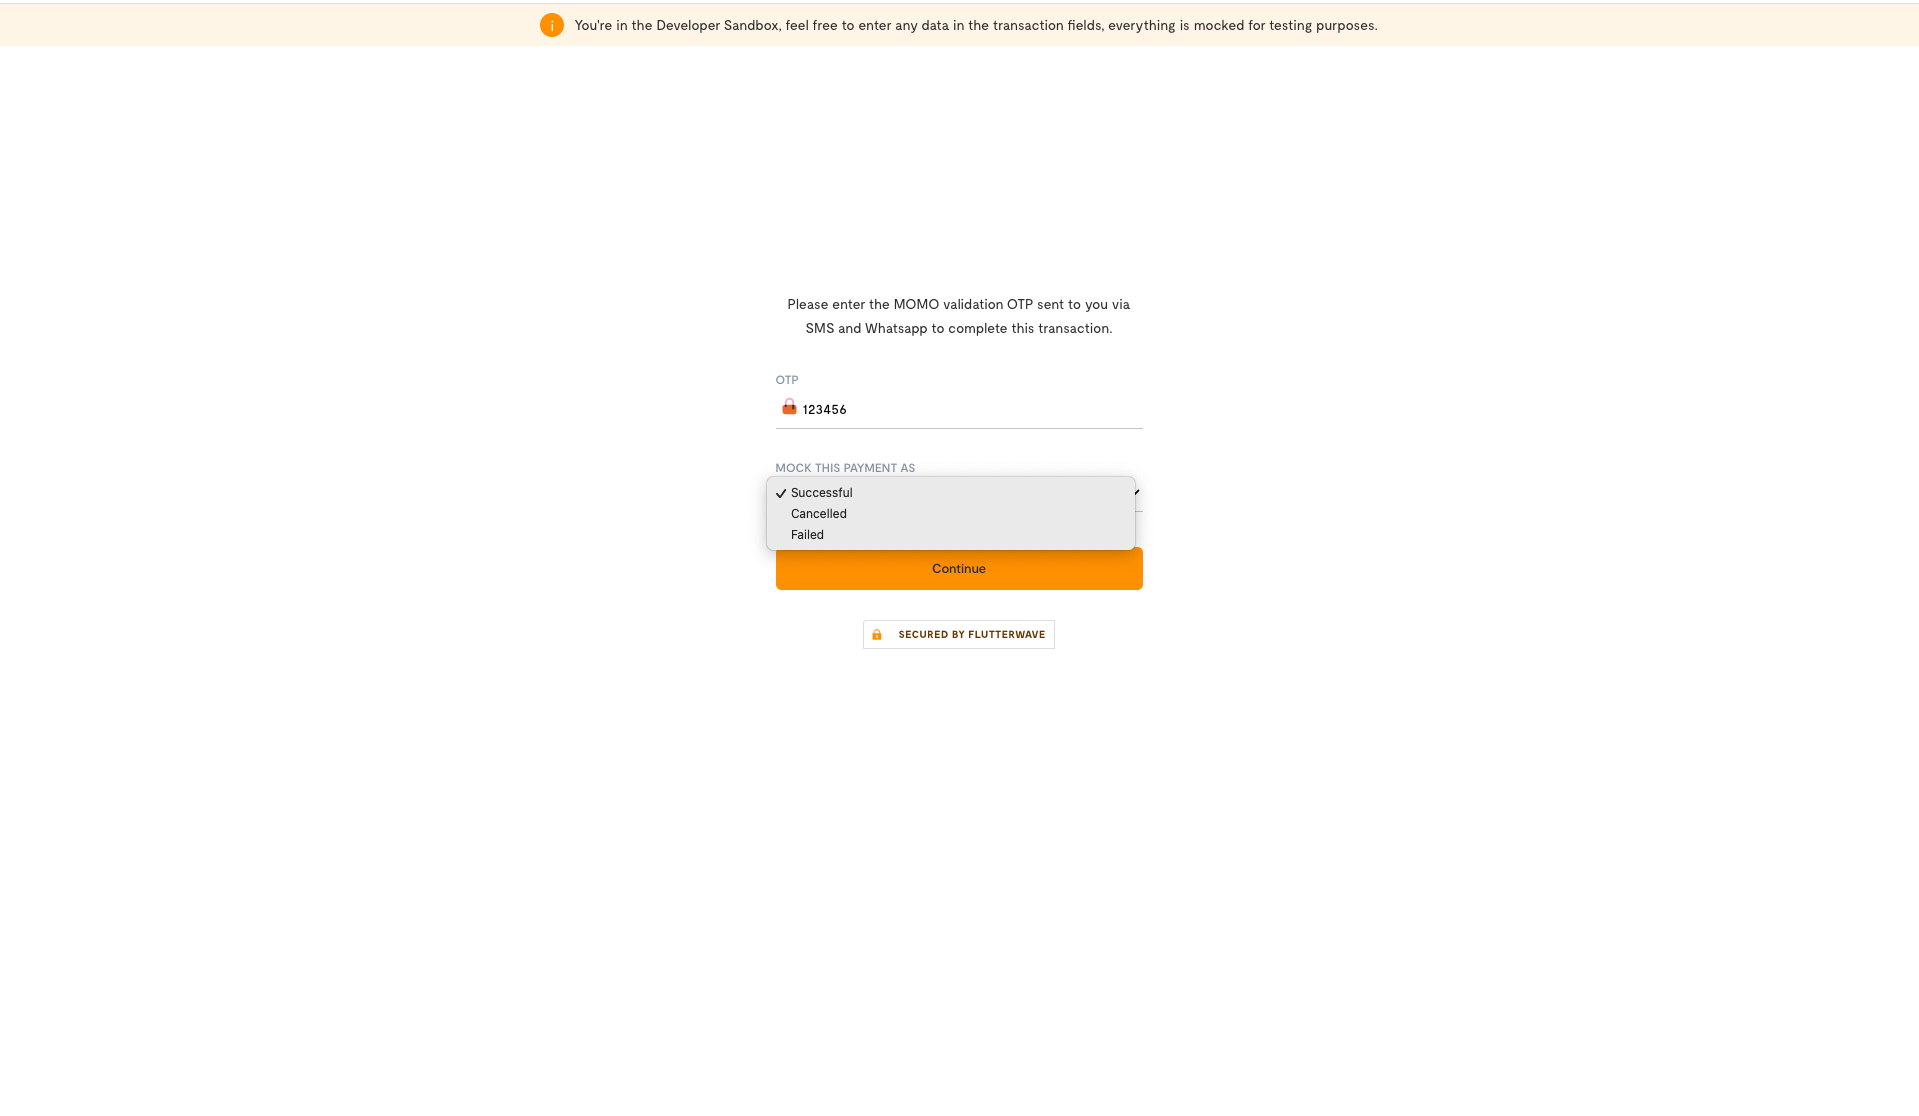
Refer to the testing helpers for a complete list of scenario keys available for mobile money.
To simulate the push notification flow, simply omit the X-Scenario-Key header. Flutterwave will respond with a next_action of type payment_instruction, containing a message to the customer with authorization instructions.
Next Steps
That’s it! You’ve now completed the full flow for accepting Mobile Money payments with Flutterwave. It doesn't end there, there is more:
- Learn about settlements of successful payments into your Flutterwave balance.
- For cases where refunds are necessary, see the refunds guide for more information on how to process transaction refunds.
Updated 10 months ago