Environments
Switch between Test and Production mode with ease
v4 APIs support two environments: Test mode (sandbox) and Production (live).
Test Environment
In our test environment, all data is mocked, and transactions are stored separately from those in production. No transaction processing actually occurs, so that you can test with real user data during your integration.
Data Retention Limit
We archive your test data after 30 days. Once test data is archived, it can't be accessed again.
Making Test Requests
To make requests in the test environment, set.https://developersandbox-api.flutterwave.com as your base URL for your requests.
curl --location 'https://developersandbox-api.flutterwave.com/customers?page=1' \
--header 'Authorization: Bearer YOUR_ACCESS_TOKEN' \
--header 'Content-Type: application/json'
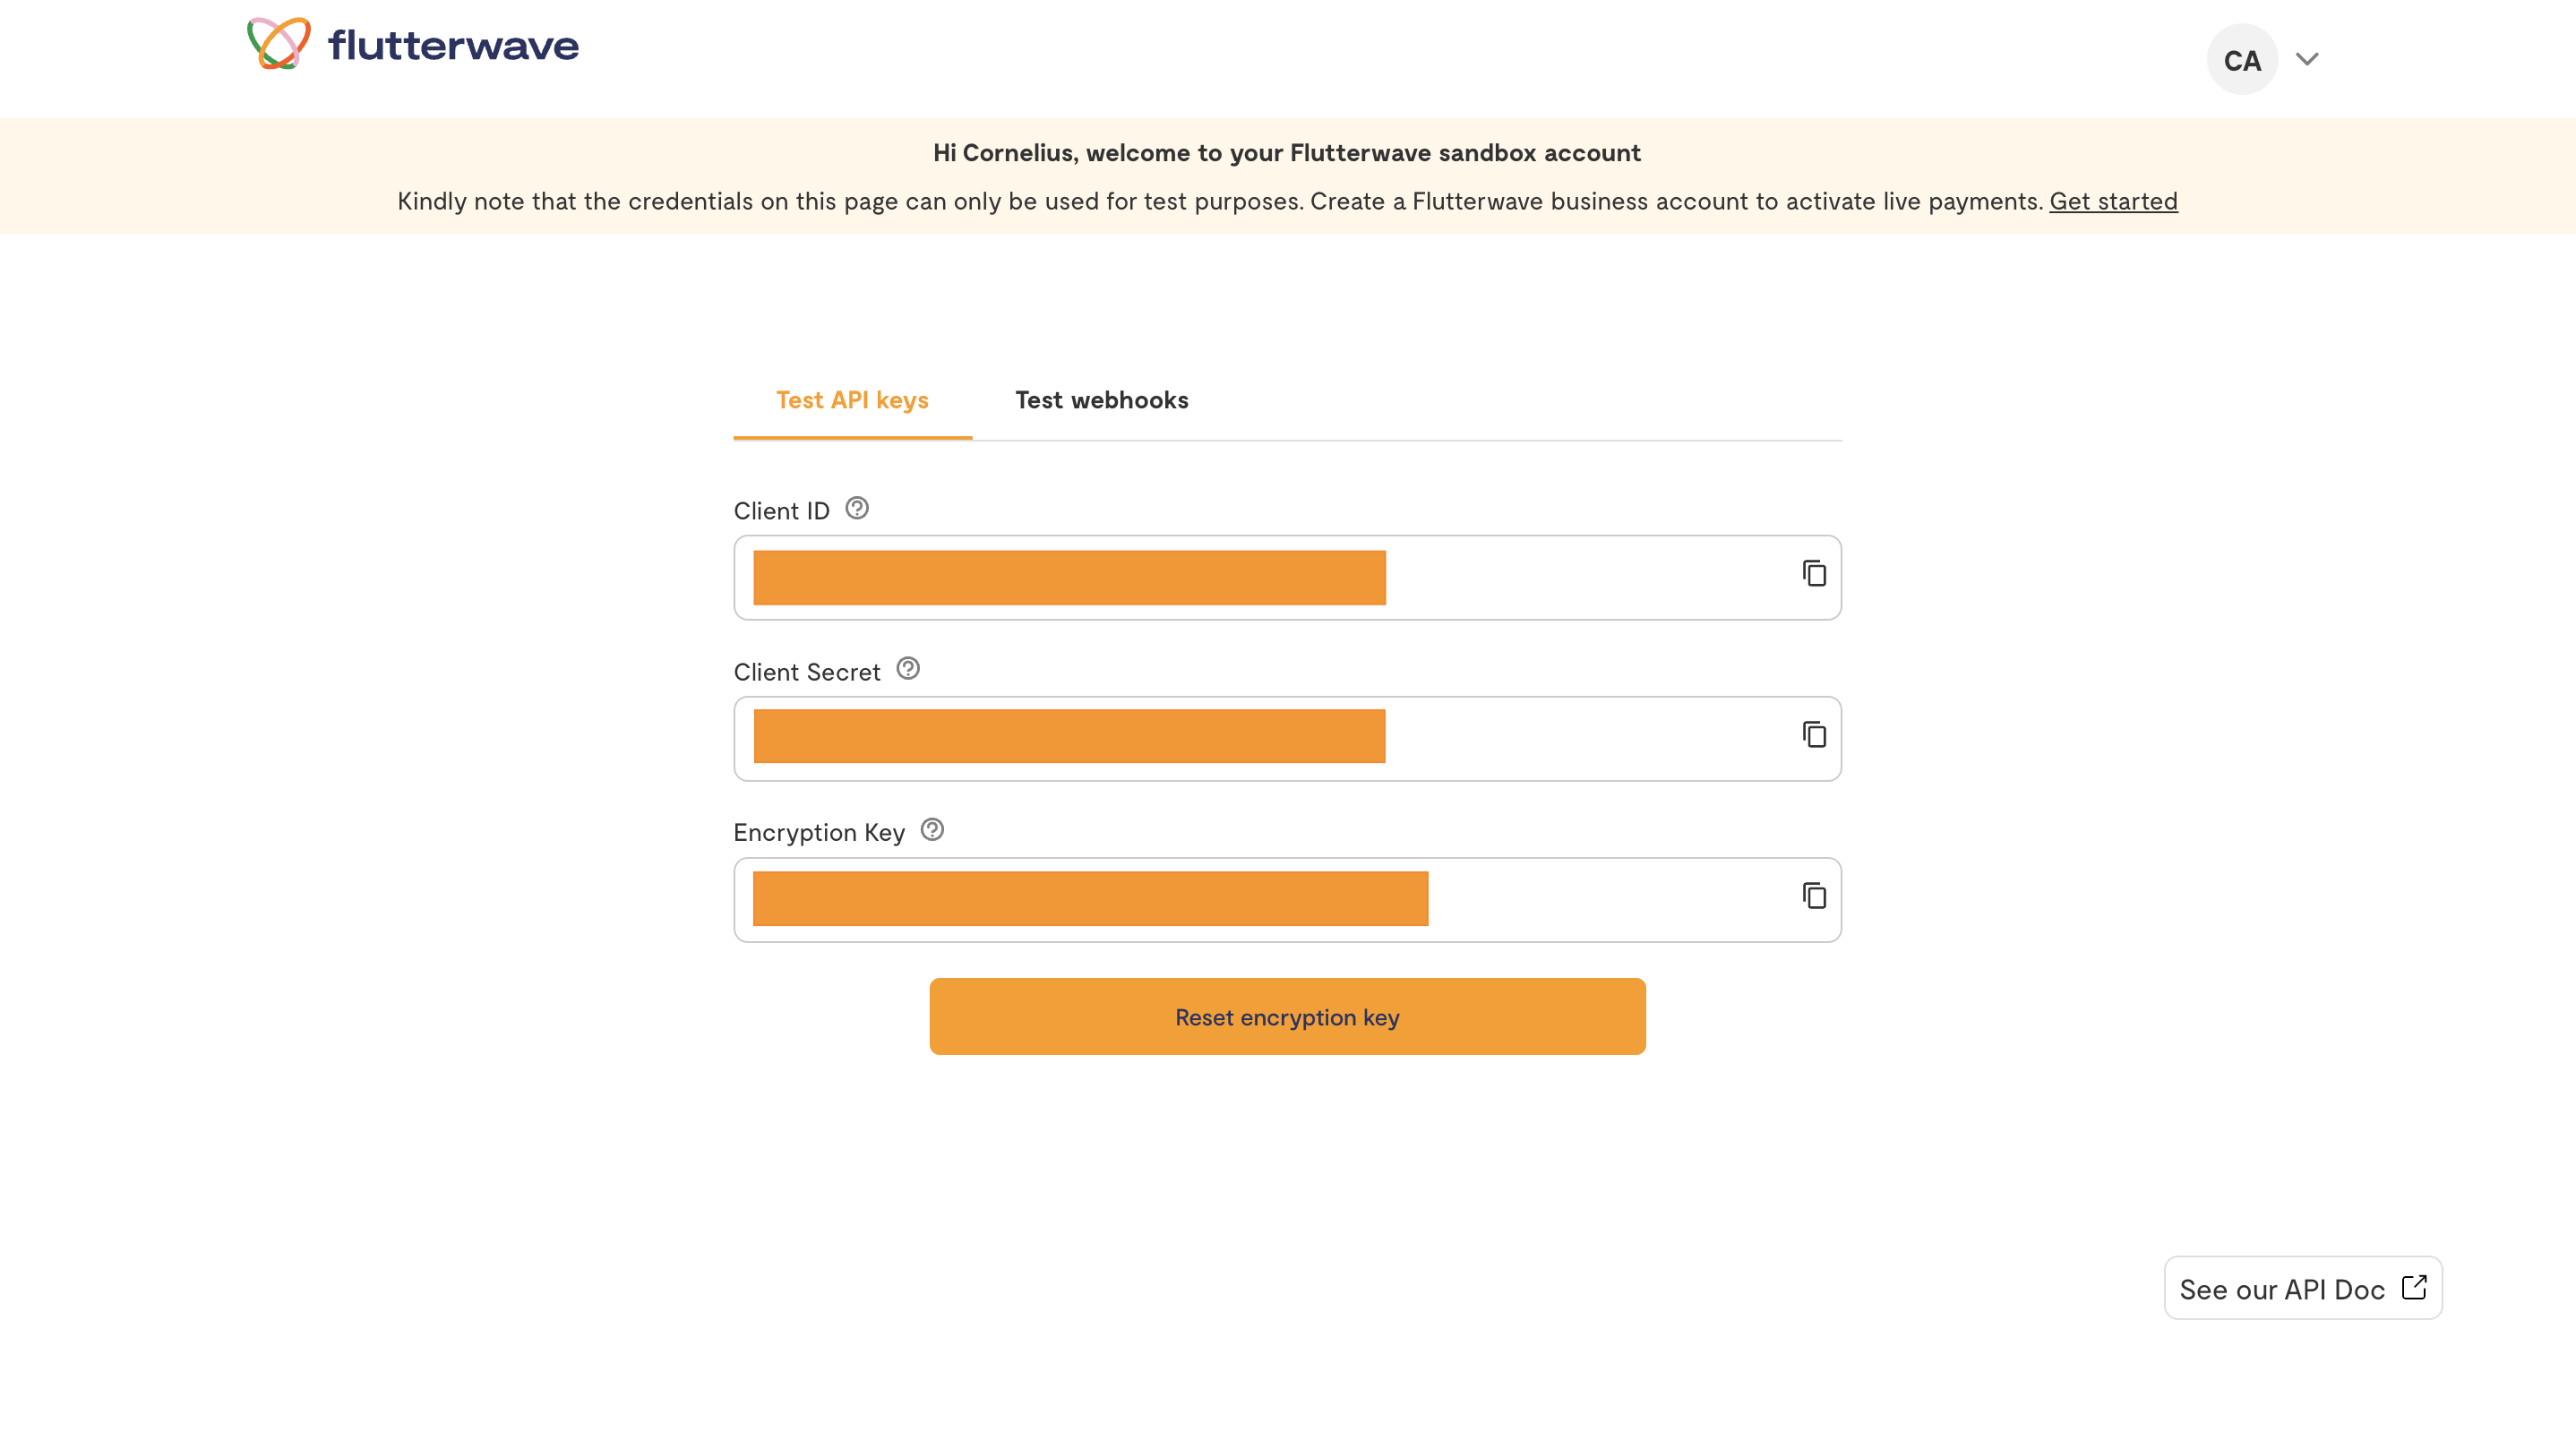
Retrieve Test API Credentials
- Log in to your developer account to access your test credentials.
- Copy your API credentials from the main dashboard.
Production Environment
To connect to our production environment, use https://f4bexperience.flutterwave.com/ as the base URL.
curl --location 'https://f4bexperience.flutterwave.com/customers?page=1' \
--header 'Authorization: Bearer YOUR_ACCESS_TOKEN' \
--header 'Content-Type: application/json'
Retrieving Production Credentials
- Log in to your Flutterwave account and navigate to
settings. - Select the
API Keysoption from your settings. - Depending on whether you are on v3 or v4, perform one of the following
- If you are on v3, i.e. the visible fields are
Public Key,Private KeyandEncryption Key, click theSwitch to v4 live API keysto see v4 API credentials. - If you are on v4, no action is required at this stage.
- If you are on v3, i.e. the visible fields are
- Copy your API credentials.
Multi-Environment Integrations
Switching between environments is an efficient way to handle your integration. There are several ways to manage your API requests in different environments, but you can use this example as a guide to handle your multi-environment setup:
// config.js:
const isProd = process.env.NODE_ENV === 'production';

export const FLW_BASE_URL = isProd
  ? 'https://developersandbox-api.flutterwave.com'
  : 'https://f4bexperience.flutterwave.com';

export const FLW_CLIENT_ID = isProd
  ? process.env.FLW_PROD_CLIENT_ID
  : process.env.FLW_SANDBOX_CLIENT_ID;

export const FLW_CLIENT_SECRET = isProd
  ? process.env.FLW_PROD_SECRET_KEY
  : process.env.FLW_SANDBOX_SECRET_KEY;

// tokenManager.ts:
import {
  FLW_CLIENT_ID,
  FLW_CLIENT_SECRET } from './config';

// (TokenManager class definition...)
class TokenManager {
  ...
  async refreshToken() {
    const response = await fetch('https://idp.flutterwave.com/realms/flutterwave/protocol/openid-connect/token', {
      method: 'POST',
      headers: {
        'Content-Type': 'application/x-www-form-urlencoded'
      },
      body: new URLSearchParams({
        'client_id': FLW_CLIENT_ID,
        'client_secret': FLW_CLIENT_SECRET,
        'grant_type': 'client_credentials'
      })
    });

    const data = await response.json();

    if (data.access_token) {
      this.token = data.access_token;
      // Set expiration time
      this.expiresAt = Date.now() + (data.expires_in * 1000);
  }
}

// Example usage:
import { FLW_BASE_URL } from './config';
import { tokenManager } from './tokenManager';

async function getCustomers() {
  const accessToken = await tokenManager.getToken();

  const response = await fetch(`${FLW_BASE_URL}/customers`, {
    headers: {
      'Authorization': `Bearer ${accessToken}`
    }
  });

  return response.json();
}
Updated 8 months ago