Cordova
Installation
- A requirement is to have Node.js and git installed on your system. If you don't have them you can download them from:
Note: Cordova is a development environment that enables you to create apps for different platforms e.g. iOS, Android, Windows, Browser etc.
- Run your node.js command line
- Install the Cordova module using npm utility of Node.js. The cordova module will automatically be downloaded by the npm utility.
For OS X and Linux
sudo npm install -g cordova
(write the following command in the command line then hit enter on your keyboard)
On Windows
npm install -g cordova
.(write the following command in the command line then hit enter on your keyboard).
Note; The download begins automatically, make take a few minutes
Starting Up
- Create your first project. You can do this by:
a) Go to the directory where you maintain your source code, and create a cordova project;
cordova create hello com.example.hello HelloWorld
This creates the required directory structure for your cordova app. By default, the cordova create script generates a skeletal web-based application whose home page is the project's www/index.html file.
- Now add your browser e.g. Chrome, Firefox etc. to add your browser use the following code:
cordova platform add browser and to add the latest version of your browser cordova platform add [email protected]
then hit enter on your keyboard
Wait till the installation of the browser finalizes.
- Run the browser by entering the following codes: cordova run browser, or *cordova run
- To install rave payment navigate to your app using git
- Write the following command: npm install cordova-rave and hit enter on your keyboard
Note: this installs the rave package in your app.
- To configure the rave payment write the following code: cd node_modules/cordova-rave && npm start and hit enter on your keyboard
Note: Once it has run it will prompt you for your rave payment public key and other required fields that are required to be filled follow.
e.g
1.PBFPubKey:  FLWPUBK-20795b3bfe02a5af632c8901d90e7591-X
2. amount:  100
3. customer_email:  [email protected]
4. currency:  NGN
5. country:  NG
6. custom_title:
7. custom_description:
8. redirect_url:  https://www.google.com
9.custom_logo:
10. liveMode:  No
hit enter on the last promt
- Input npm run build .This ultimately creates a rave.js file into your www directory. Link to this file in your root index template. If you modify your config.json at anytime, you need to run the build again.
- Open your app in your favourite text editor
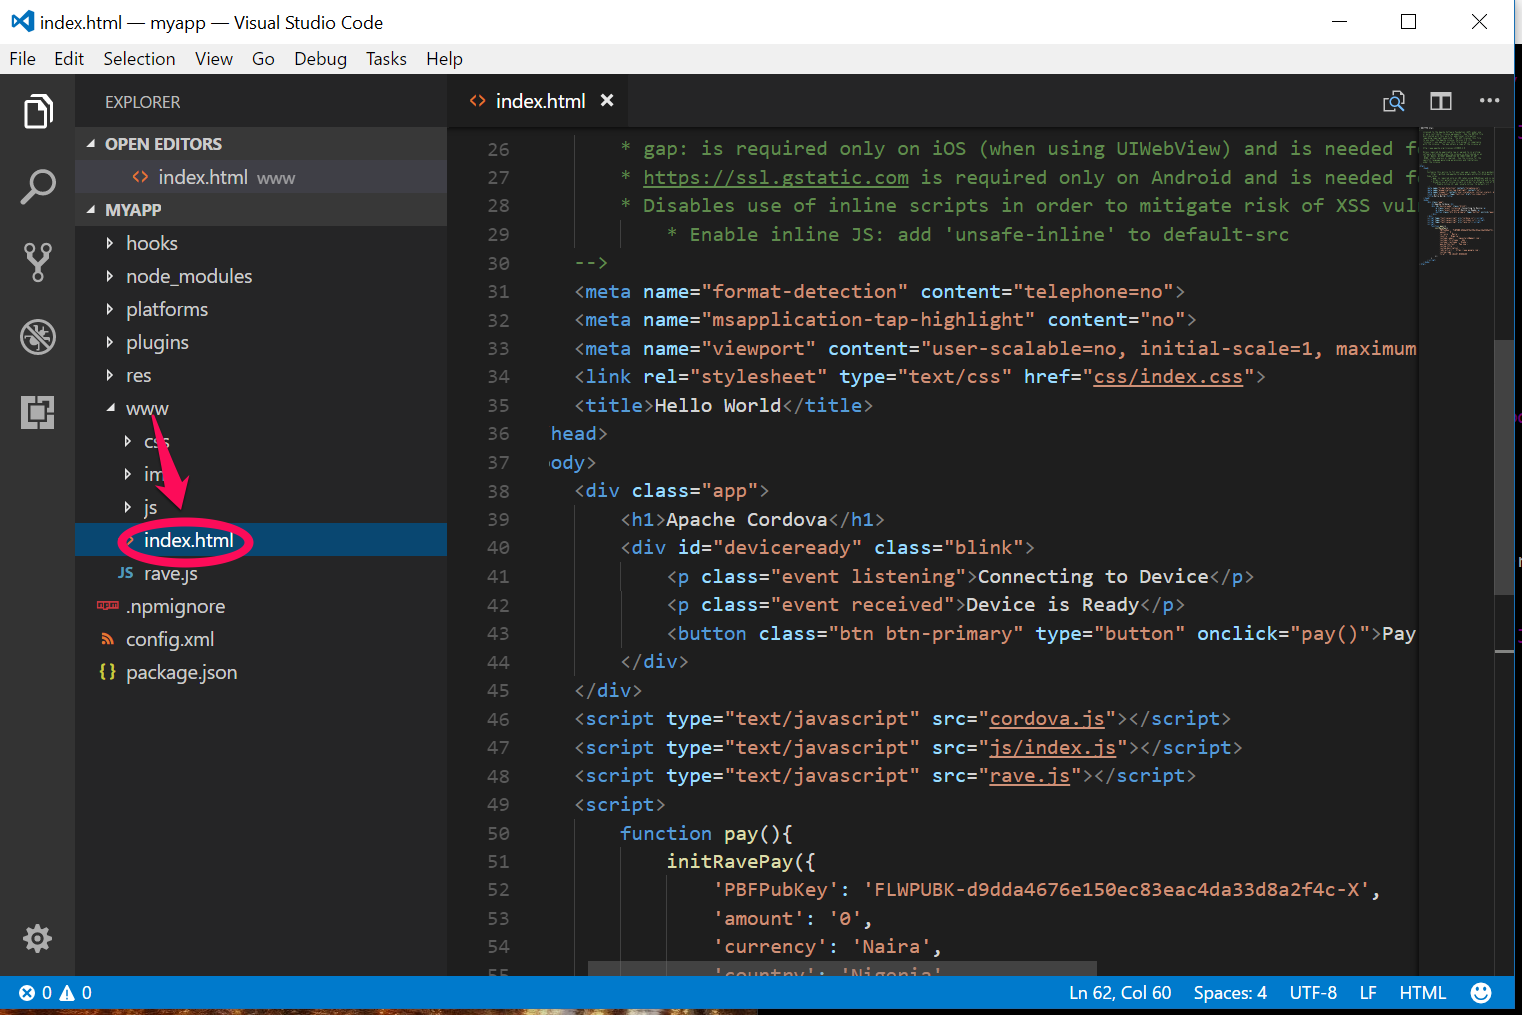
- Navigate to the index.html file in the www directory

- Edit the HTML fILE with the following codes as follows:
<!DOCTYPE html>
<!--
    Licensed to the Apache Software Foundation (ASF) under one
    or more contributor license agreements.  See the NOTICE file
    distributed with this work for additional information
    regarding copyright ownership.  The ASF licenses this file
    to you under the Apache License, Version 2.0 (the
    "License"); you may not use this file except in compliance
    with the License.  You may obtain a copy of the License at

    http://www.apache.org/licenses/LICENSE-2.0

    Unless required by applicable law or agreed to in writing,
    software distributed under the License is distributed on an
    "AS IS" BASIS, WITHOUT WARRANTIES OR CONDITIONS OF ANY
     KIND, either express or implied.  See the License for the
    specific language governing permissions and limitations
    under the License.
-->
<html>
    <head>
        <!--
        Customize this policy to fit your own app's needs. For more guidance, see:
            https://github.com/apache/cordova-plugin-whitelist/blob/master/README.md#content-security-policy
        Some notes:
            * gap: is required only on iOS (when using UIWebView) and is needed for JS->native communication
            * https://ssl.gstatic.com is required only on Android and is needed for TalkBack to function properly
            * Disables use of inline scripts in order to mitigate risk of XSS vulnerabilities. To change this:
                * Enable inline JS: add 'unsafe-inline' to default-src
        -->
        <meta name="format-detection" content="telephone=no">
        <meta name="msapplication-tap-highlight" content="no">
        <meta name="viewport" content="user-scalable=no, initial-scale=1, maximum-scale=1, minimum-scale=1, width=device-width">
        <link rel="stylesheet" type="text/css" href="css/index.css">
        <title>Hello World</title>
    </head>
    <body>
        <div class="app">
            <h1>Apache Cordova</h1>
            <div id="deviceready" class="blink">
                <p class="event listening">Connecting to Device</p>
                <p class="event received">Device is Ready</p>
                <button class="btn btn-primary" type="button" onclick="pay()">Pay Now</button>
            </div>
        </div>
        <script type="text/javascript" src="cordova.js"></script>
        <script type="text/javascript" src="js/index.js"></script>
        <script type="text/javascript" src="rave.js"></script>
        <script>
            function pay(){
                initRavePay({
                    'PBFPubKey': 'FLWPUBK-d9dda4676e150ec83eac4da33d8a2f4c-X',
                    'amount': '0',
                    'currency': 'NGN',
                    'country': 'NG',
                    'customer_email': '[email protected]',
                    'customer_firstname': 'Jon',
                    'customer_lastname': 'Snow',
                    'pay_button_text': 'Pay now',
                    'custom_title': '',
                    'custom_description': '',
                    'redirect_url': 'https://www.google.com',
                    'custom_logo': '',
                    'txref': 'CD-102297-RV098299'
                });
            }
        </script>
    </body>
</html>
Note: Your index.html file should look like this
- Save the file and run it in your Cordova browser
- Click on the button you created
- You have successfully implemented rave payment on your app
Congratulations!
Updated over 5 years ago


