Authentication
Test Mode vs Live Mode
There are two "modes" of operation for your Flutterwave account:
-
Live Mode: Real money, real transactions, real effects. Only switch to this after you've tested your integration thoroughly.
-
Test Mode: No real money is involved. Only our test cards and bank accounts can be used. We'll still send webhooks and email notifications, and most of the API functions the same.
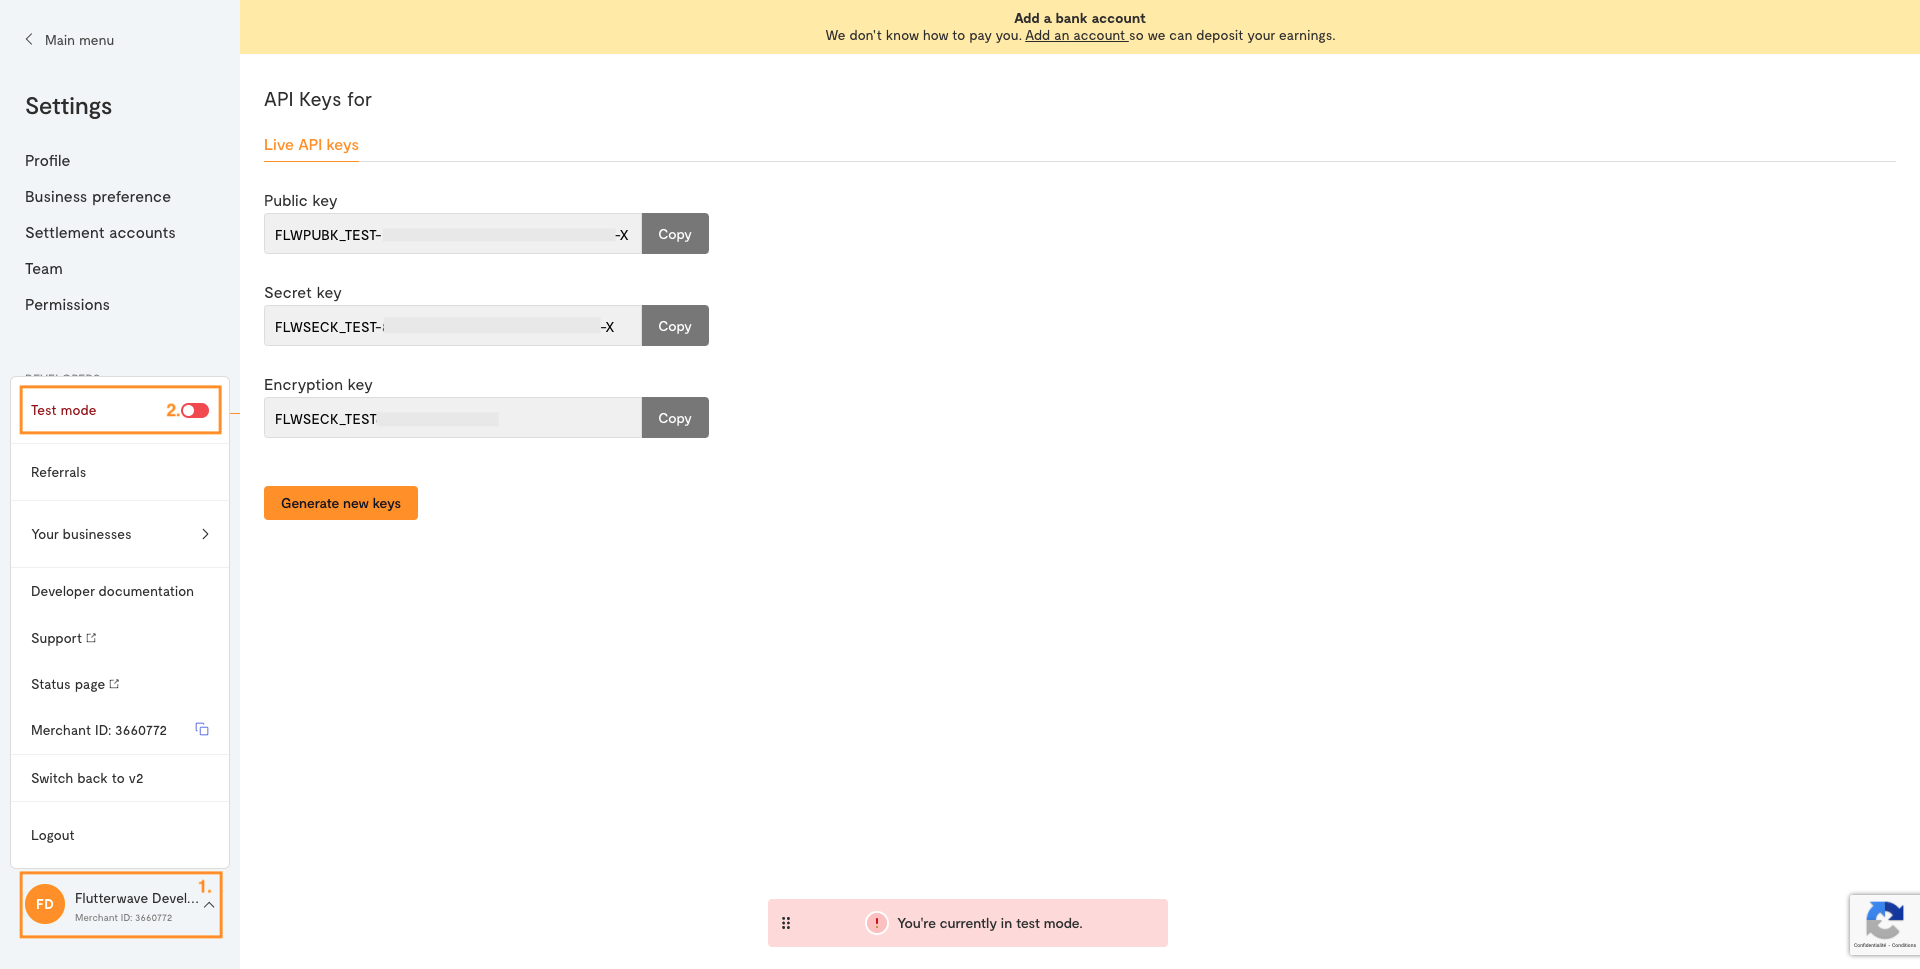
You can easily switch between Live and Test modes with the toggle button at the bottom of the menu sidebar. When you switch between modes, we'll also switch the API keys shown. Test keys will always have _TEST in the prefix (for example, FLWPUBK_TEST-32193bba8dab84e3d9c4525c85ea7a12-X)
API keys
When you create a Flutterwave account, you're given three kinds of API keys:
- Secret key: The most powerful type of key. It can authorize any action on your account, so it should never be exposed to the public.
- Public key: The key you'll use in "public" scenarios, such as in front-end JavaScript code (e.g. Flutterwave Inline).
- Encryption key: Only used with the direct card charge endpoint. See the encryption guide for details.

Retrieving your API Keys
Your API keys are very vital to making requests successfully to our servers. To get your keys on testmode:
- Log into your Flutterwave dashboard.
- Navigate to Settings
- Select the API Keys open in the Developers section of the menu to view and copy your keys.
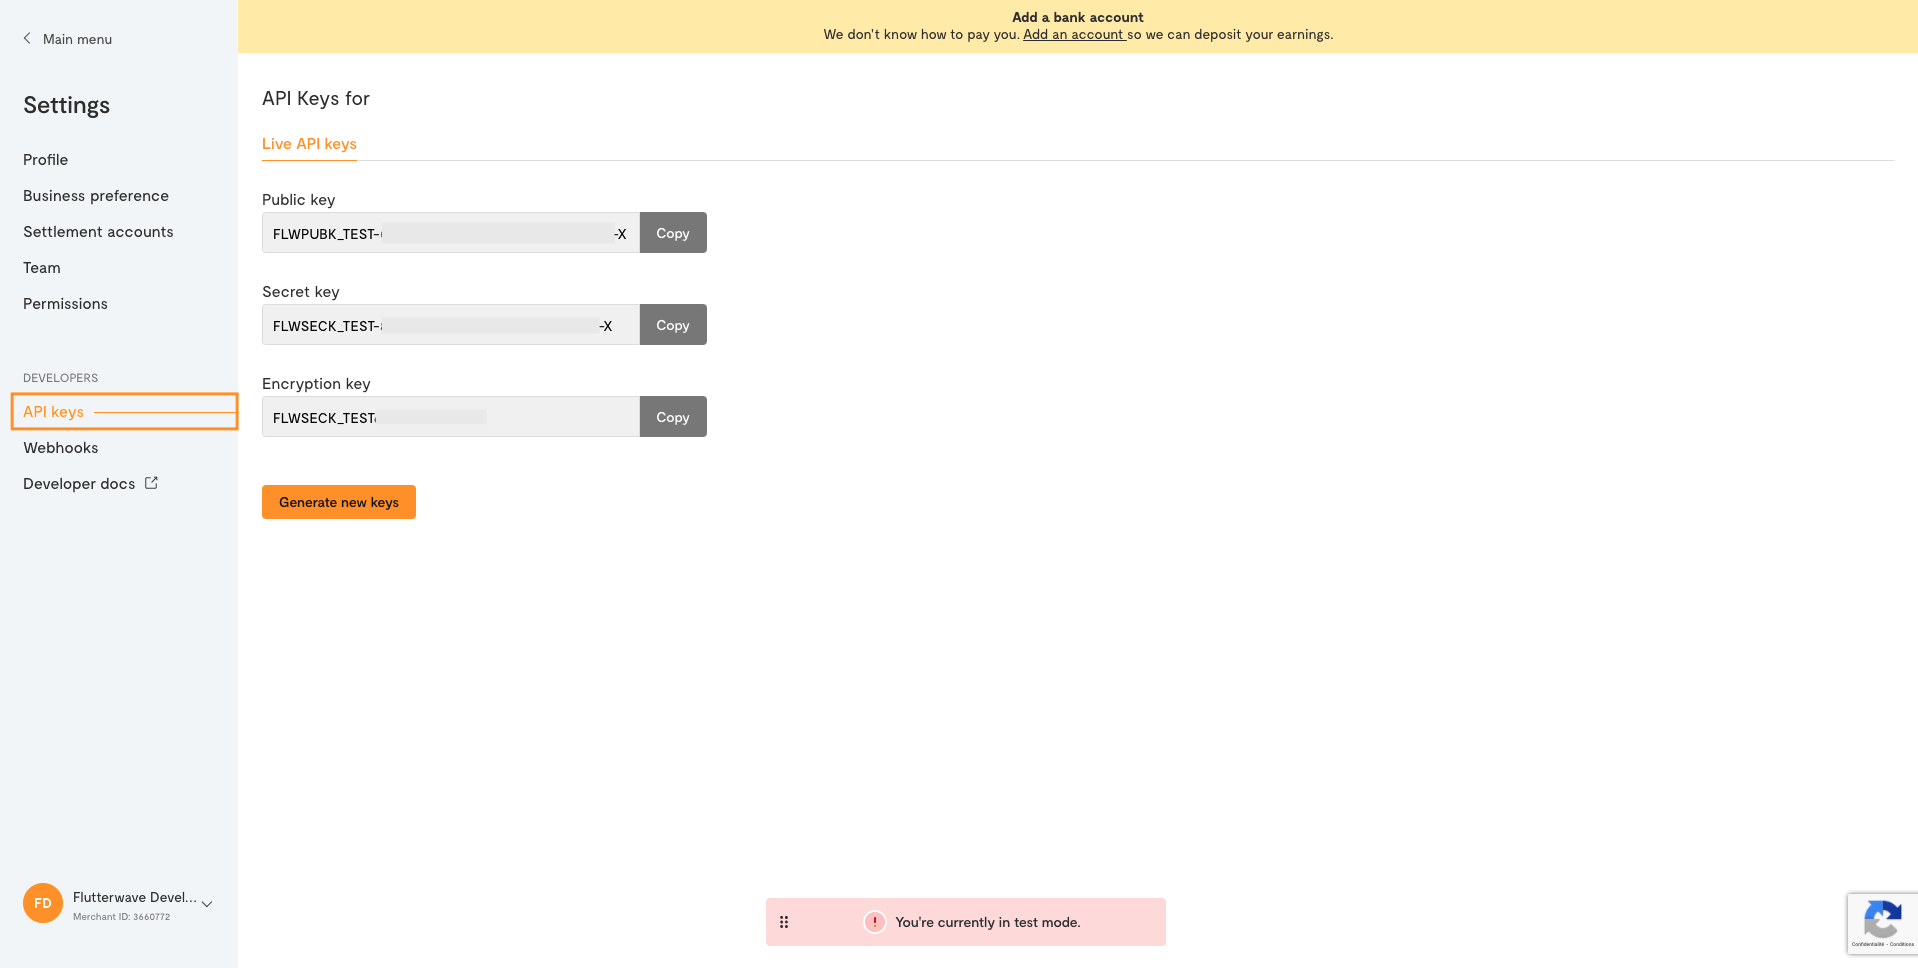
On the live environment, API key managememt is slightly different. To better secure your live transactions, we mask them so no one can have access to them.
If you think your keys may have been compromised (for instance, you accidentally committed them to Git), you should immediately generate new ones using the Generate new keys button on the Settings > API page on your dashboard.
This will invalidate all existing keys and give you a new set, and you can then update your app to use the new ones.
Authorizing API calls
All API calls on Flutterwave are authenticated. API requests made without authorization will fail with the status code 401: Unauthorized.
Your secret key can perform any actions on your Flutterwave account without restriction. It should be kept confidential and only stored on your servers, preferably as an environment variable.
It should not be included in your Git repository or front-end JavaScript code.
To authorize API calls from your server, pass your secret key as a bearer token. This means passing an Authorization header with a value of "Bearer: YOUR_SECRET_KEY".
For example, an API call could look like this in Node.js:
const response = await got.post("https://api.flutterwave.com/v3/payments", {
    headers: {
        Authorization: `Bearer ${process.env.FLW_SECRET_KEY}`
    },
    json: {
        // Your payload
    }
});
If you're using one of our backend SDKs, you don't need to pass the header manually; instead you'll provide your keys when initialising the library.
// Install with: npm i flutterwave-node-v3

const Flutterwave = require('flutterwave-node-v3');
const flw = new Flutterwave(process.env.FLW_PUBLIC_KEY, process.env.FLW_SECRET_KEY);
// Subsequqent calls will automatically have the header added
flw.Misc.bvn({bvn: "123456789010"})
    .then(response => console.log(response)
// Install with: composer require flutterwavedev/flutterwave-v3

$flw = new \Flutterwave\Rave(getenv('FLW_SECRET_KEY'));
// Set `PUBLIC_KEY` as an environment variable
// Subsequent calls will automatically have the header added
$bvnService = new \Flutterwave\Bvn();
$response = $bvnService->verifyBVN("123456789");
# Install with: gem install flutterwave_sdk

require 'flutterwave_sdk'

flw = Flutterwave.new(ENV["FLW_PUBLIC_KEY"], ENV["FLW_SECRET_KEY"], ENV["FLW_ENCRYPTION_KEY"])
# Subsequqent calls will automatically have the header added
misc = Misc.new(flw)
response = misc.resolve_bvn "123456789"
# Install with: pip install rave_python

import os
from rave_python import Rave

rave = Rave(os.getenv("FLW_PUBLIC_KEY"), os.getenv("FLW_SECRET_KEY"), os.getenv("FLW_ENCRYPTION_KEY"))
# Subsequqent calls will automatically have the header added
response = rave.Transfer.bvnResolve("123456789")
print(response)
// Install with: go get github.com/Flutterwave/Rave-go/rave

import (
  "fmt"
  "os"
  "github.com/Flutterwave/Rave-go/rave"
)
var r = rave.Rave{
  false,
  os.Getenv("FLW_PUBLIC_KEY"),
  os.Getenv("FLW_SECRET_KEY"),
}
// Subsequqent calls will automatically have the header added
var bvn = rave.BVN{
    r,
}
err, response := bvn.Bvn("12345678901")
if err != nil {
    panic(err)
}
fmt.Println(response)