
Ghana Mobile Money
Learn about Mobile Money support in Ghana.
Ghana Mobile Money
Collect GHS payments directly from your customers' mobile money wallets in Ghana.
At a glance
- Endpoint:
POST https://api.flutterwave.com/v3/charges?type=mobile_money_ghana- Currency:
GHS- Supported networks:
MTN,Telecel,AIRTEL- Flow: Initiate charge → Redirect customer to authorize → Receive webhook → Verify transaction
- Test mode: Payments are authorized automatically after a few seconds.
Before you begin
Make sure you have:
- Your secret key from the Flutterwave dashboard.
- A webhook URL configured, so you can be notified when the payment completes.
How it works
- You initiate the charge. Send the customer's phone number, network, and payment details to the charge endpoint.
- You redirect the customer. The response contains a URL where the customer authorizes the payment.
- The customer approves the payment. They enter an OTP on the checkout page, then approve the prompt on their phone with their mobile money PIN.
- Flutterwave notifies you. You receive a
charge.completedwebhook. - You verify the transaction before giving value to the customer.
Step 1: Initiate the charge
Send a POST request to the charge endpoint with type=mobile_money_ghana.
Request parameters
| Parameter | Type | Required | Description |
|---|---|---|---|
tx_ref | string | Yes | Your unique reference for this transaction. Must not be reused. |
amount | number | Yes | Amount to charge, in GHS. |
currency | string | Yes | Must be GHS. |
email | string | Yes | Customer's email address. |
phone_number | string | Yes | Customer's mobile money number. |
network | string | Yes | Customer's mobile money network: MTN, VODAFONE, or TIGO. |
fullname | string | No | Customer's full name. |
meta | object | No | Custom key-value data you want attached to the transaction. |
For the full list of parameters, see the endpoint reference.
Example request
curl --request POST \
  --url 'https://api.flutterwave.com/v3/charges?type=mobile_money_ghana' \
  --header 'Authorization: Bearer YOUR_SECRET_KEY' \
  --header 'Content-Type: application/json' \
  --data '{
    "tx_ref": "REF-GH-0001",
    "amount": 1500,
    "currency": "GHS",
    "country": "GH",
    "email": "[email protected]",
    "phone_number": "054709929220",
    "network": "MTN"
  }'
// Install with: npm i flutterwave-node-v3

const Flutterwave = require('flutterwave-node-v3');
const flw = new Flutterwave(process.env.FLW_PUBLIC_KEY, process.env.FLW_SECRET_KEY);

const payload = {
  tx_ref: `REF-GH-${Date.now()}`,
  amount: 1500,
  currency: 'GHS',
  country: 'GH',
  email: '[email protected]',
  phone_number: '054709929220',
  network: 'MTN',
};

flw.MobileMoney.ghana(payload)
  .then((response) => console.log(response))
  .catch((error) => console.error(error));
<?php
// Install with: composer require flutterwavedev/flutterwave-v3
// Set FLW_PUBLIC_KEY and FLW_SECRET_KEY as environment variables.

$mobileMoneyService = new \Flutterwave\MobileMoney();

$payload = [
    "type"         => "mobile_money_ghana",
    "tx_ref"       => "REF-GH-" . uniqid(),
    "amount"       => 1500,
    "currency"     => "GHS",
    "country"      => "GH",
    "email"        => "[email protected]",
    "phone_number" => "054709929220",
    "network"      => "MTN",
];

$response = $mobileMoneyService->mobilemoney($payload);
print_r($response);
# Install with: gem install flutterwave_sdk

require 'flutterwave_sdk'

flw = Flutterwave.new(ENV["FLW_PUBLIC_KEY"], ENV["FLW_SECRET_KEY"], ENV["FLW_ENCRYPTION_KEY"])
charge = MobileMoney.new(flw)

payload = {
  tx_ref: "REF-GH-#{Time.now.to_i}",
  amount: 1500,
  currency: "GHS",
  country: "GH",
  email: "[email protected]",
  phone_number: "054709929220",
  network: "MTN"
}

response = charge.initiate_charge(payload)
puts response
Step 2: Redirect the customer to authorize
A successful request returns status: "success" and a meta.authorization object.
{
  "status": "success",
  "message": "Charge initiated",
  "meta": {
    "authorization": {
      "mode": "redirect",
      "redirect": "https://checkout.flutterwave.com/captcha/verify/lang-en/3441:877713af5525b0668a8a7018727a9a83"
    }
  }
}
| Field | What to do with it |
|---|---|
meta.authorization.mode | Will be redirect for Ghana mobile money. |
meta.authorization.redirect | Redirect your customer to this URL. |
Important: A
successstatus here means the charge was initiated, not paid. Do not give value to the customer at this point.
Step 3: The customer completes the payment
This step happens between the customer, the Flutterwave checkout page, and their mobile money provider. You don't need to call any API here. The screens below show what your customer sees, so you can describe the flow in your own UI or support content.
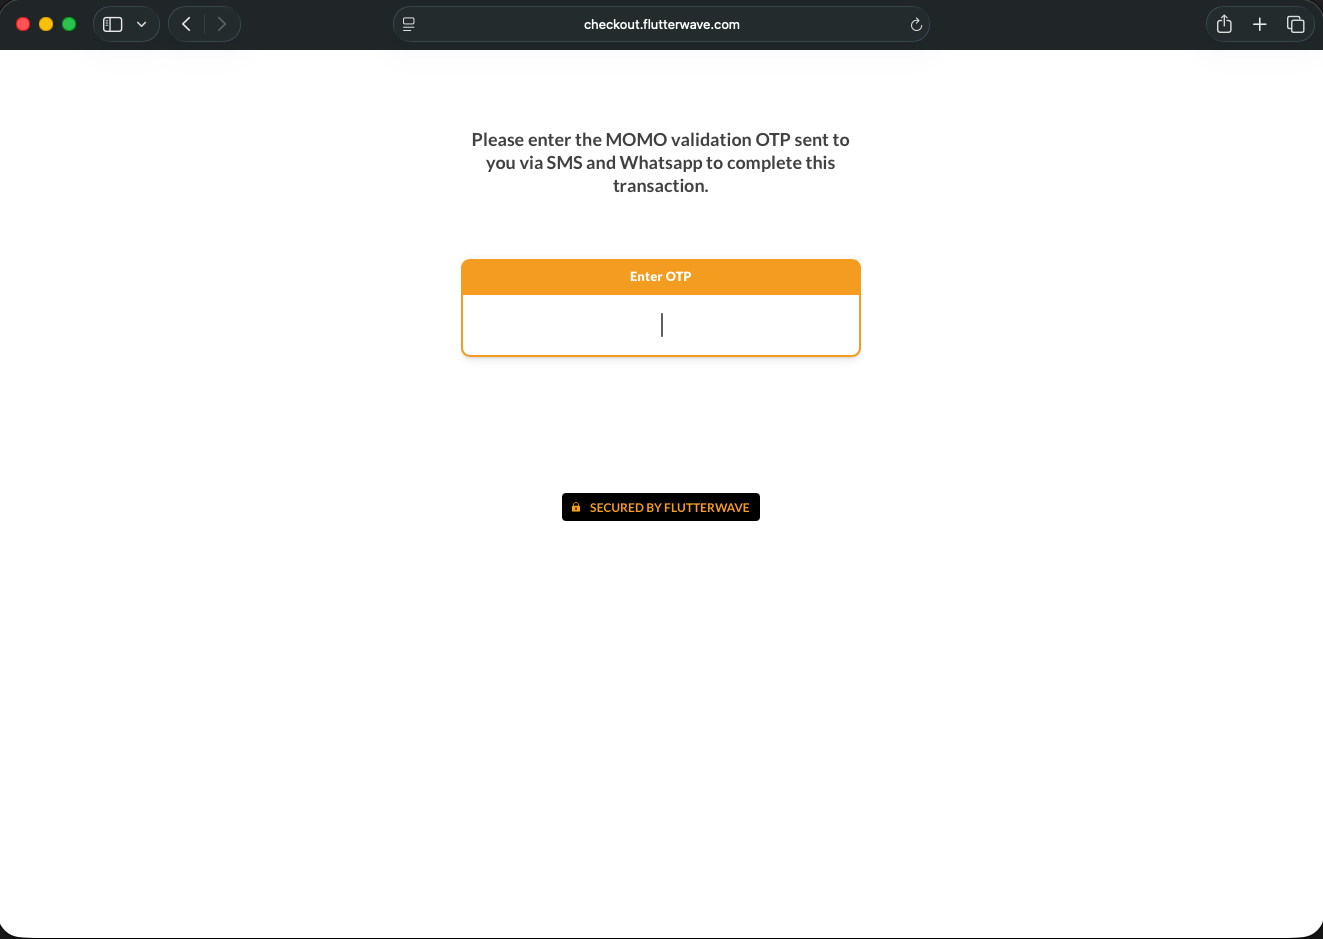
3.1 Enter the OTP
The checkout page asks the customer for a one-time password (OTP). Flutterwave sends this OTP to the customer's phone by SMS and WhatsApp.
3.2 Wait for the approval prompt
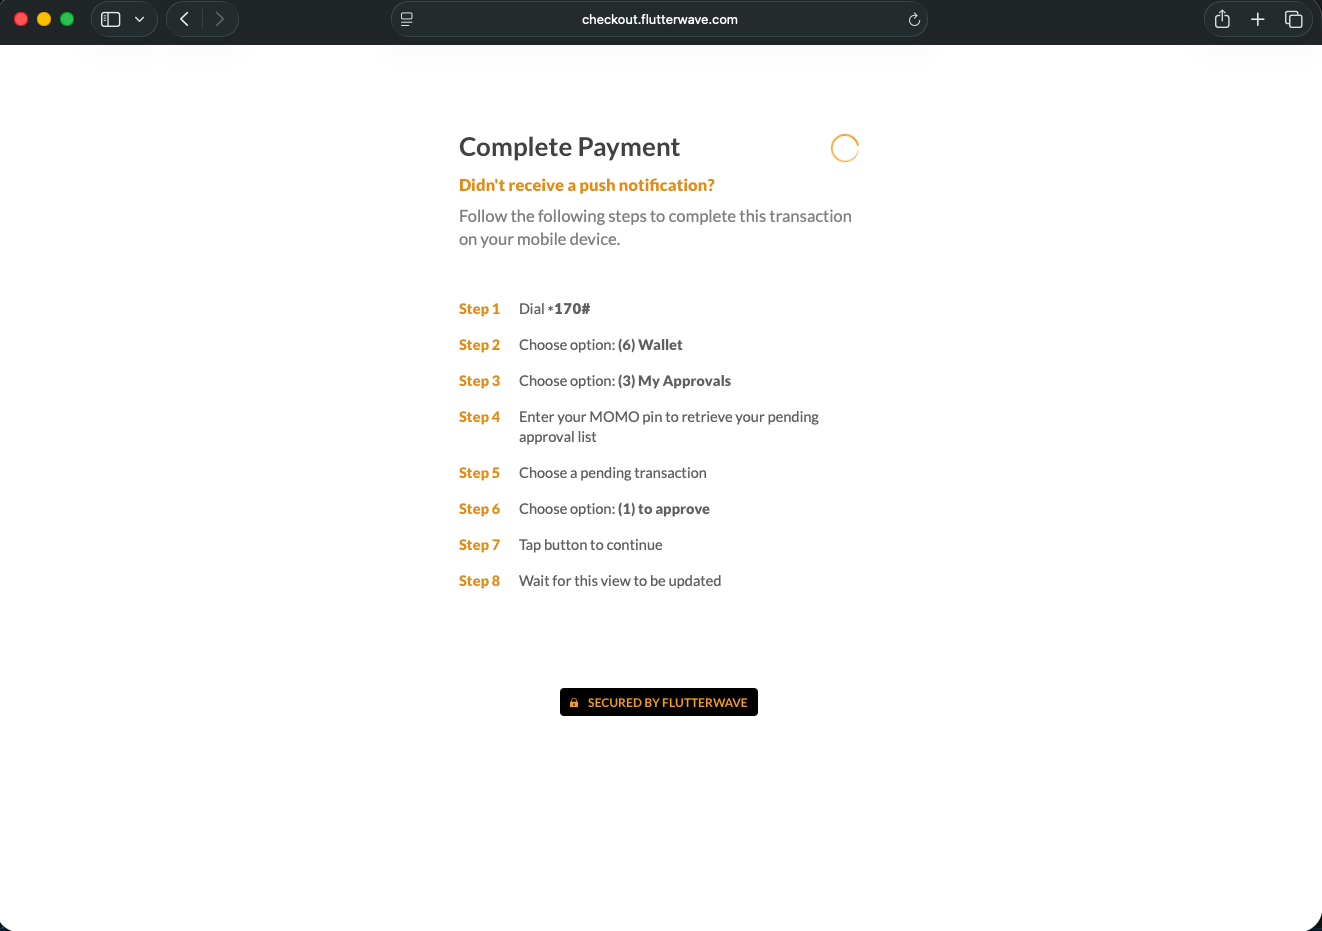
After the OTP is accepted, the page shows Complete Payment with a loading indicator. The customer's mobile money provider sends a push prompt to their phone.
If the customer doesn't receive the prompt, the page lists the steps to approve the payment manually from their phone's USSD menu.
3.3 Approve on the phone
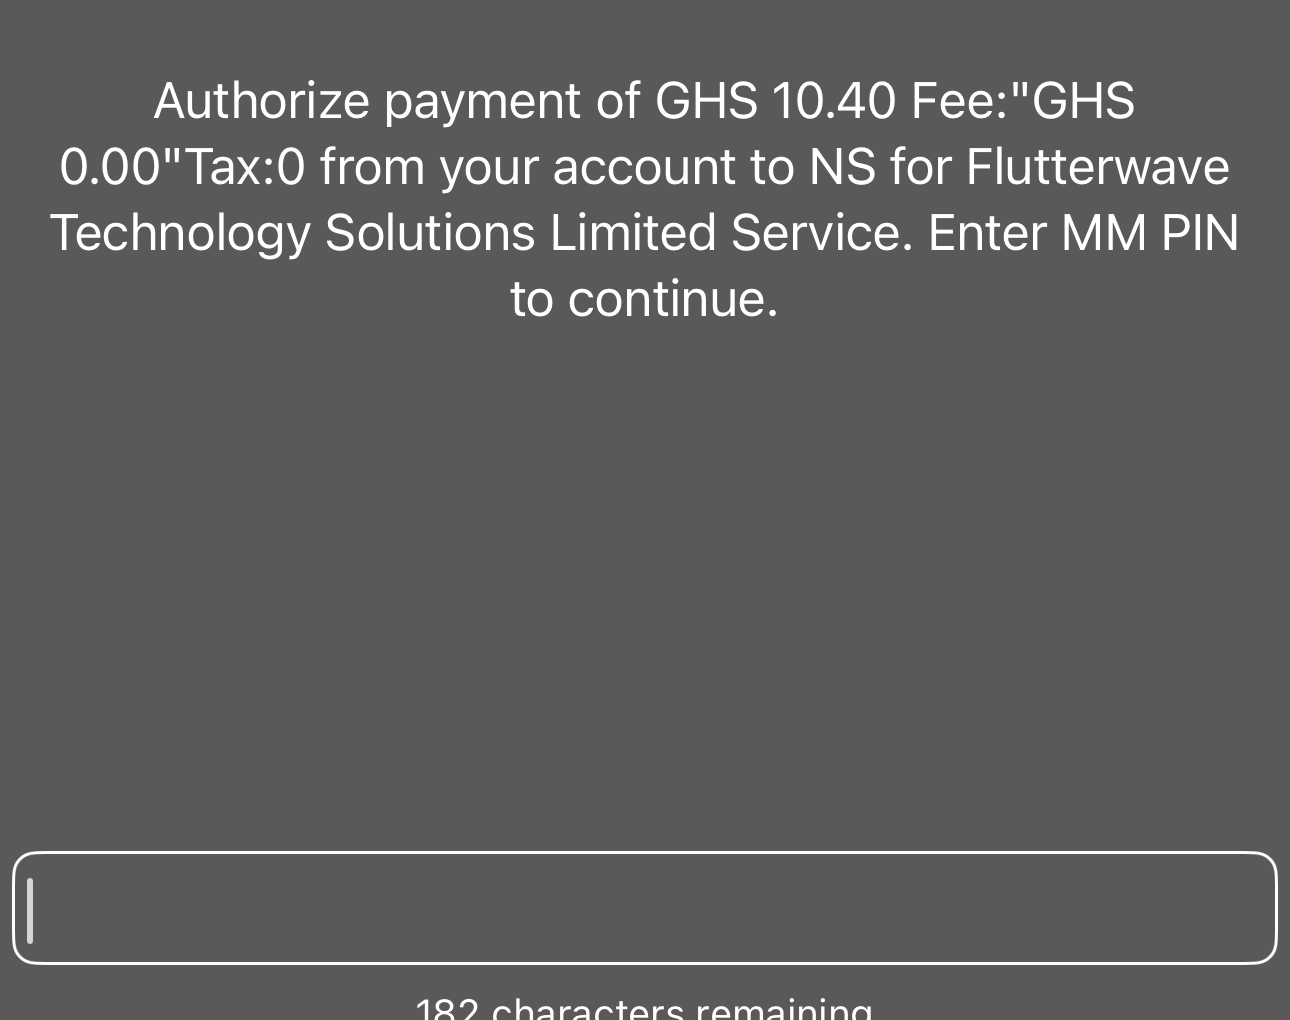
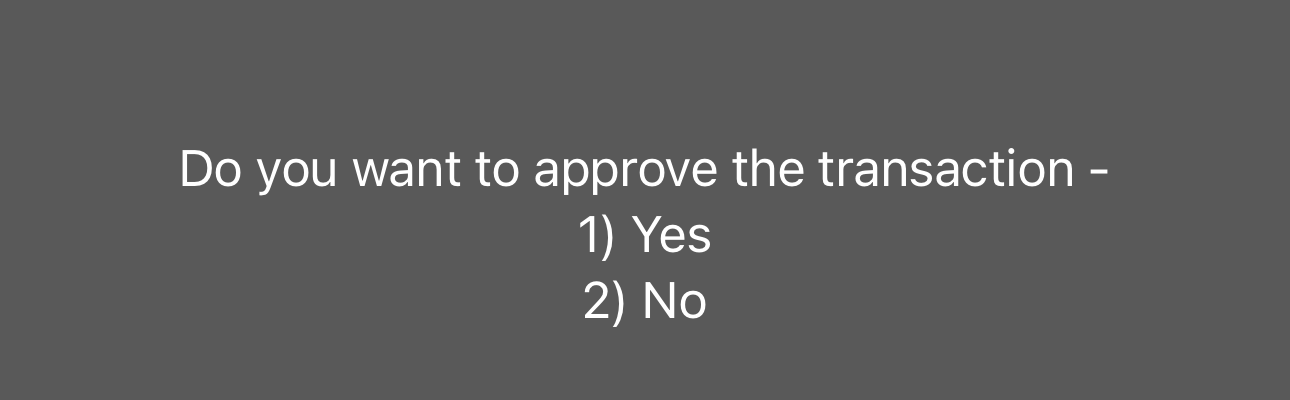
On their phone, the customer:
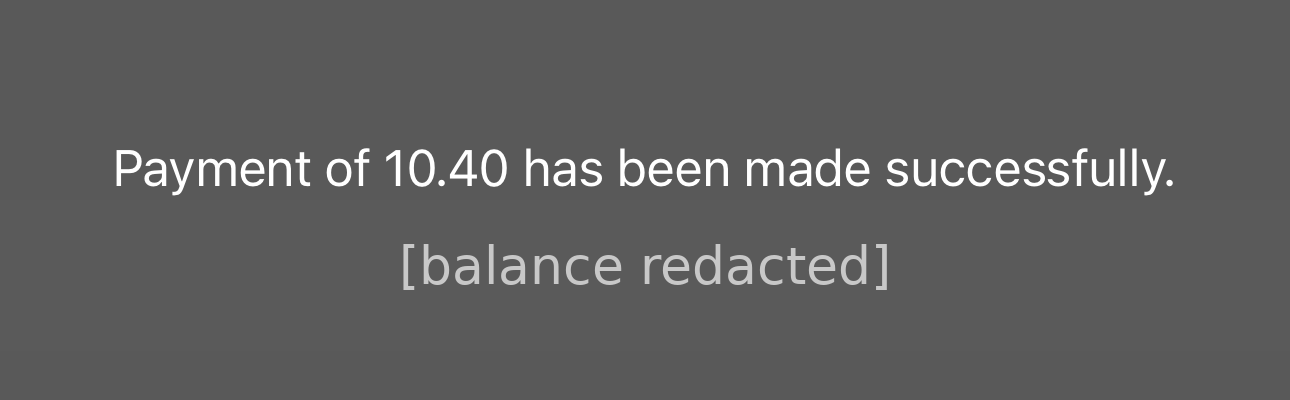
- Sees a prompt showing the amount and Flutterwave Technology Solutions Limited as the recipient, and enters their mobile money PIN.
- Confirms the transaction by choosing 1) Yes.
-
Receives a confirmation message from their provider.
3.4 See the result
The checkout page updates automatically and shows the final status.
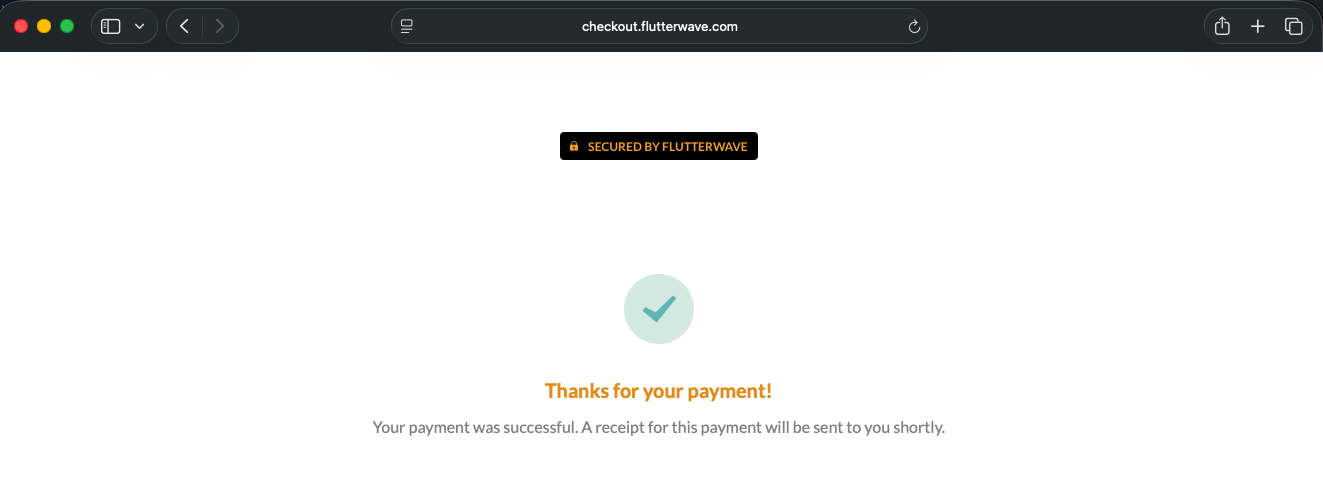
Important: The success page is for the customer only. Your system should still wait for the webhook (Step 4) and verify the transaction (Step 5) before giving value.
Testing tip: In Test Mode, Ghana mobile money payments are authorized automatically after a few seconds. You won't see the OTP or phone prompts.
Step 4: Receive the webhook
When the payment completes, Flutterwave sends a charge.completed event to your webhook URL.
{
  "event": "charge.completed",
  "data": {
    "id": 2073992,
    "tx_ref": "REF-GH-0001",
    "flw_ref": "flwm3s4m0c1620380894041",
    "device_fingerprint": "N/A",
    "amount": 1500,
    "currency": "GHS",
    "charged_amount": 1500,
    "app_fee": 43.5,
    "merchant_fee": 0,
    "processor_response": "Approved",
    "auth_model": "MOBILEMONEY",
    "ip": "::ffff:10.30.86.54",
    "narration": "MerchantName",
    "status": "successful",
    "payment_type": "mobilemoneygh",
    "created_at": "2021-05-07T09:48:13.000Z",
    "account_id": 732559,
    "meta": null,
    "customer": {
      "id": 841600,
      "name": "Anonymous Customer",
      "phone_number": "054709929220",
      "email": "[email protected]",
      "created_at": "2021-05-07T09:48:13.000Z"
    }
  }
}
Step 5: Verify the transaction
Never rely on the webhook payload alone. Before giving value, call the verify transaction endpoint with data.id from the webhook and confirm that:
statusissuccessfultx_refmatches the reference you generated in Step 1amountandcurrencymatch what you expected to charge
Only then should you credit the customer or fulfil the order.
Next steps
Updated 3 days ago